Have you ever felt guilty tossing vegetable peels into the trash? What if I told you those scraps could transform your garden into a thriving paradise? Compost isn’t just for hardcore environmentalists or people with massive backyards. It’s one of the simplest ways anyone can reduce waste, save money, and grow healthier plants. And the best part? You probably already have everything you need to start.
Why Bother with Composting?
Let me paint you a picture. Every week, the average household throws away about 2-3 kg of food waste. That’s over 150 kg per year heading to landfills, where it produces methane, a greenhouse gas far more potent than carbon dioxide. But here’s the exciting part: when you compost that same waste at home, you’re creating “black gold” for your garden. This nutrient-rich material improves soil structure, retains moisture, and feeds your plants naturally. No chemical fertilisers needed. Plus, you’ll save money. Good quality compost can cost ₹400-600 per bag at garden centres. Why buy it when you can make it for free?
What Exactly Is Compost?
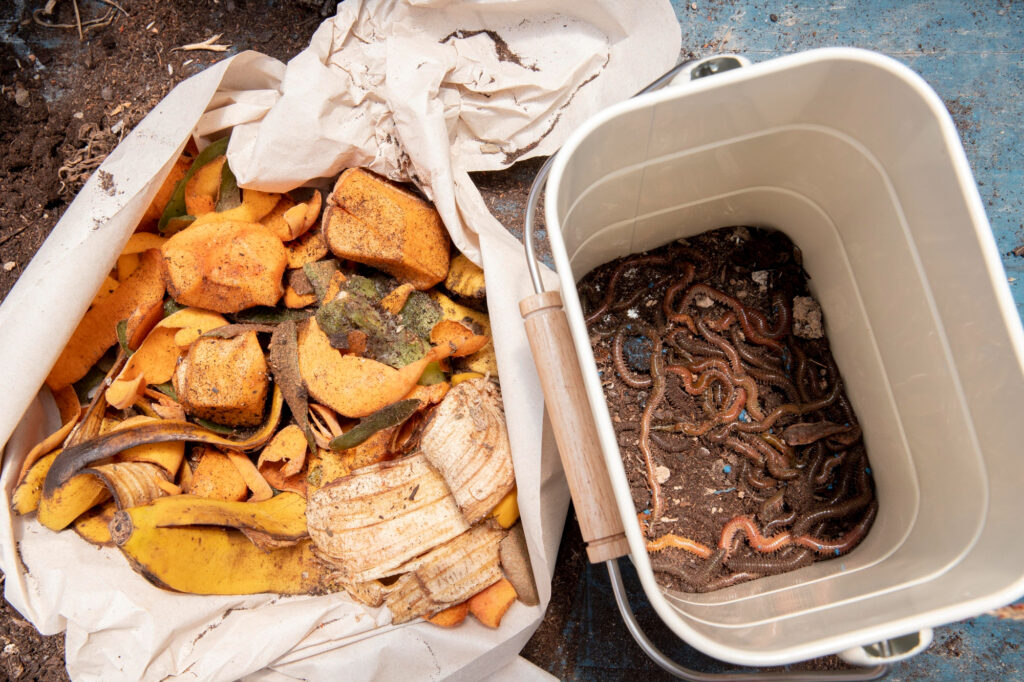
Think of compost as nature’s recycling system. It’s what happens when organic matter breaks down with the help of microorganisms, worms, and other decomposers. The result is a dark, crumbly, earth-smelling material that plants absolutely love. The process mimics what happens on a forest floor, where fallen leaves and dead plants naturally decompose and enrich the soil. You’re just speeding things up and doing it in a controlled way.
The Two Types of Ingredients: Browns and Greens
Successful composting is all about balance. You need two main types of materials:
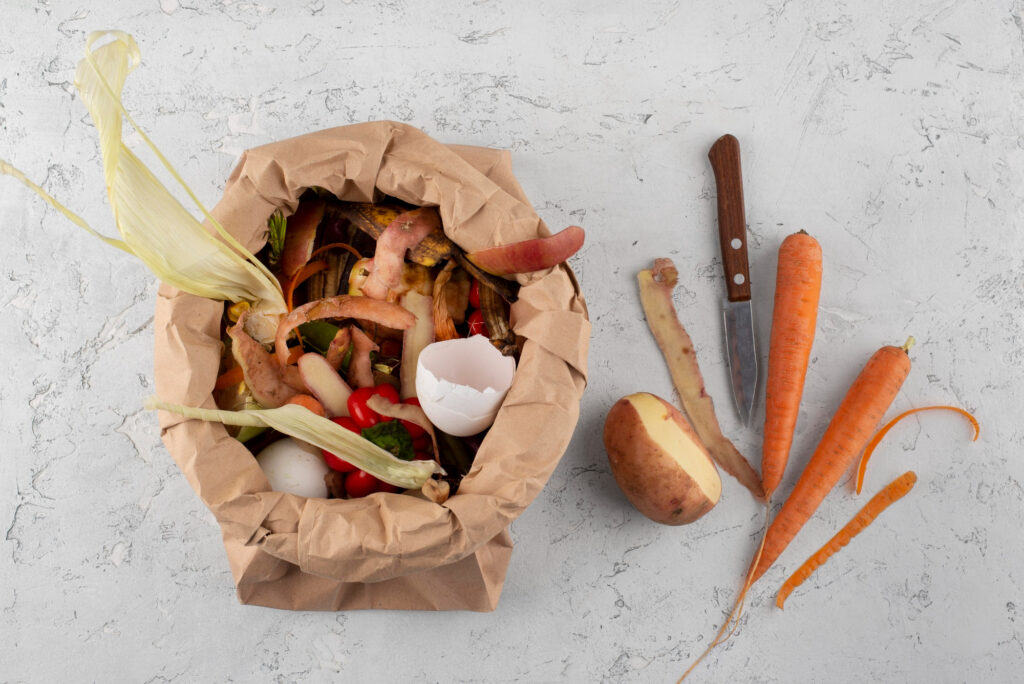
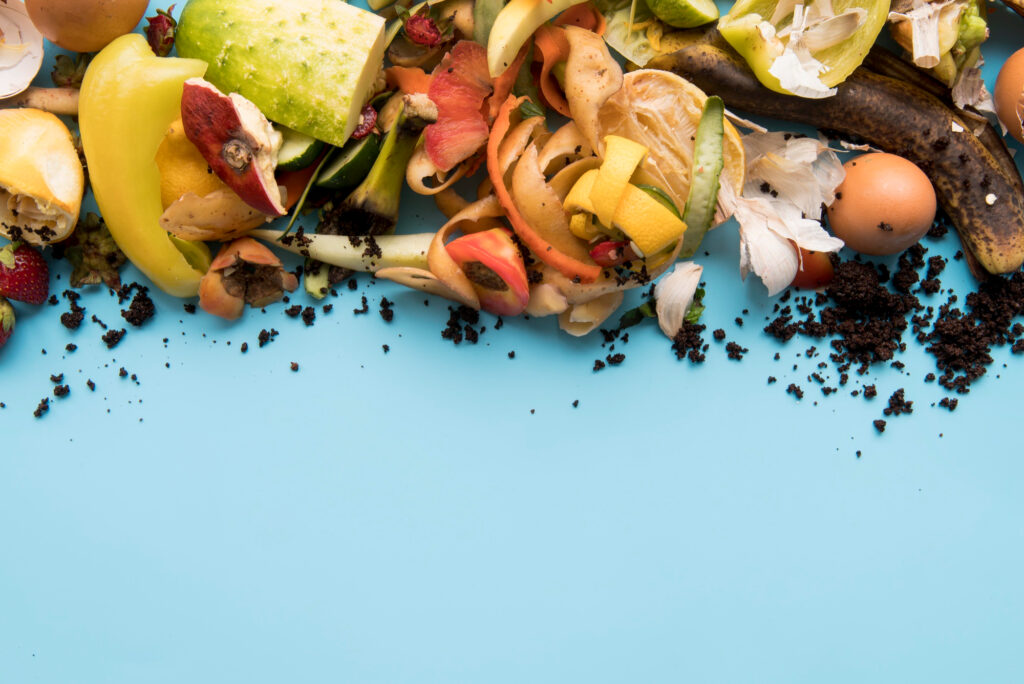
- Greens are nitrogen-rich and include fresh, moist materials like fruit and vegetable scraps, coffee grounds, tea bags, fresh grass clippings, and green plant trimmings. These materials heat the pile and provide protein for the microorganisms doing the work.
- Browns are carbon-rich and include dry materials like dried leaves, newspaper, cardboard, coconut coir, and dry twigs. These provide energy and create air pockets in your compost, which helps with airflow.
- The magic ratio? Aim for roughly three parts brown to one part green. Don’t stress about being exact; composting is forgiving.
What You Can (and Can’t) Compost
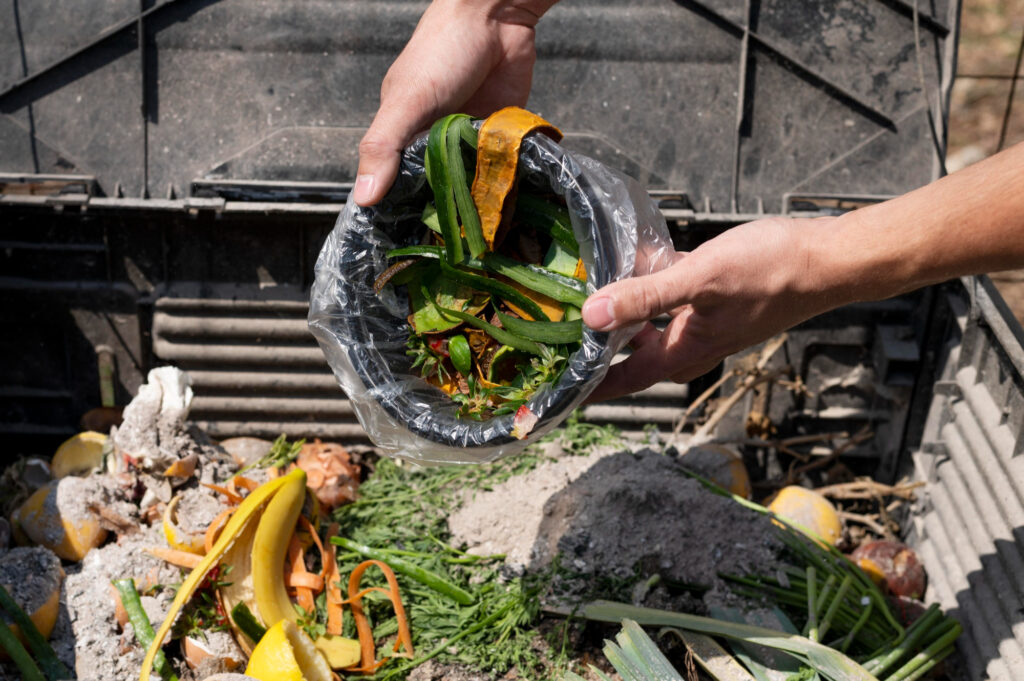

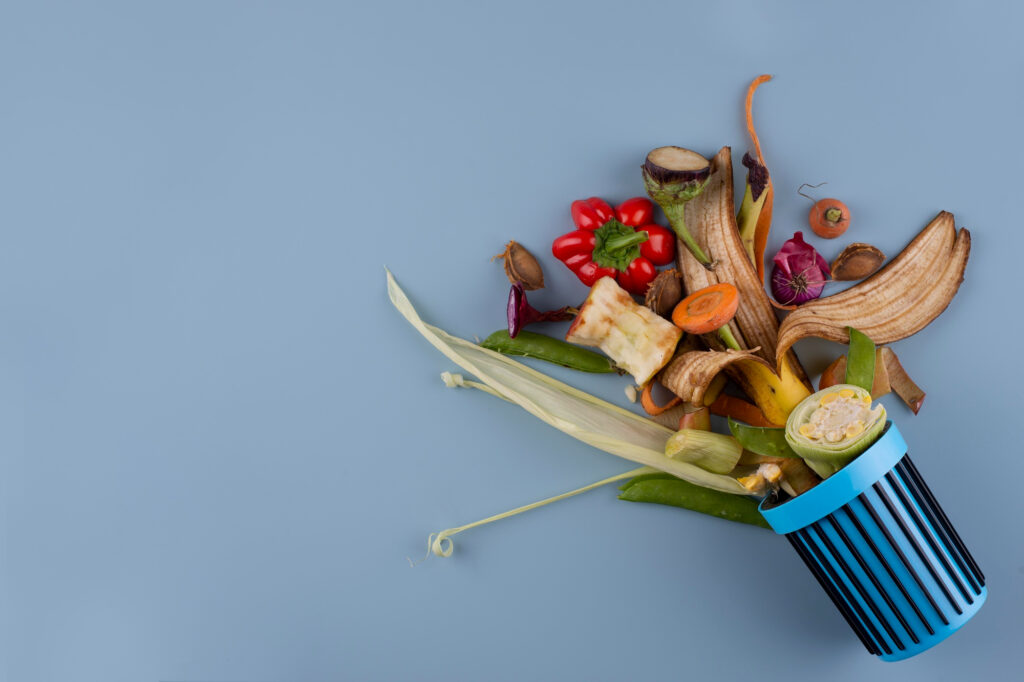
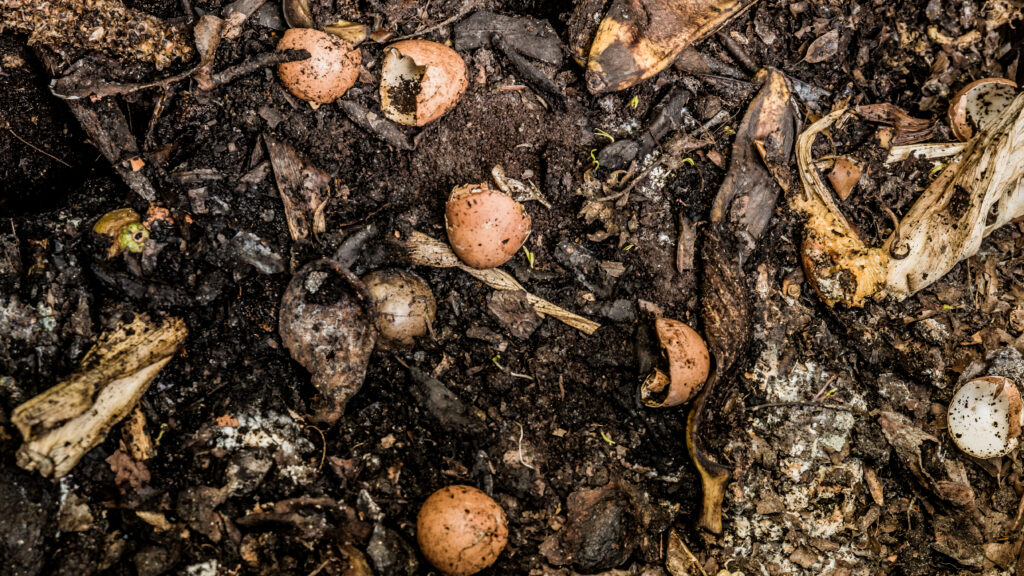
- Go ahead and add: Vegetable and fruit scraps, eggshells, coffee grounds and filters, tea bags (remove staples), nut shells, shredded paper and cardboard, dry leaves, grass clippings, plant trimmings, and wood ash in small amounts.
- Keep out: Meat, fish, and bones (they attract pests and smell terrible), dairy products, oils and fats, pet waste, diseased plants, weeds with seeds, and glossy or colored paper.
- In the Konkan region, you have abundant access to fantastic brown materials like coconut coir, dried banana leaves, and rice husks. These work beautifully in compost.
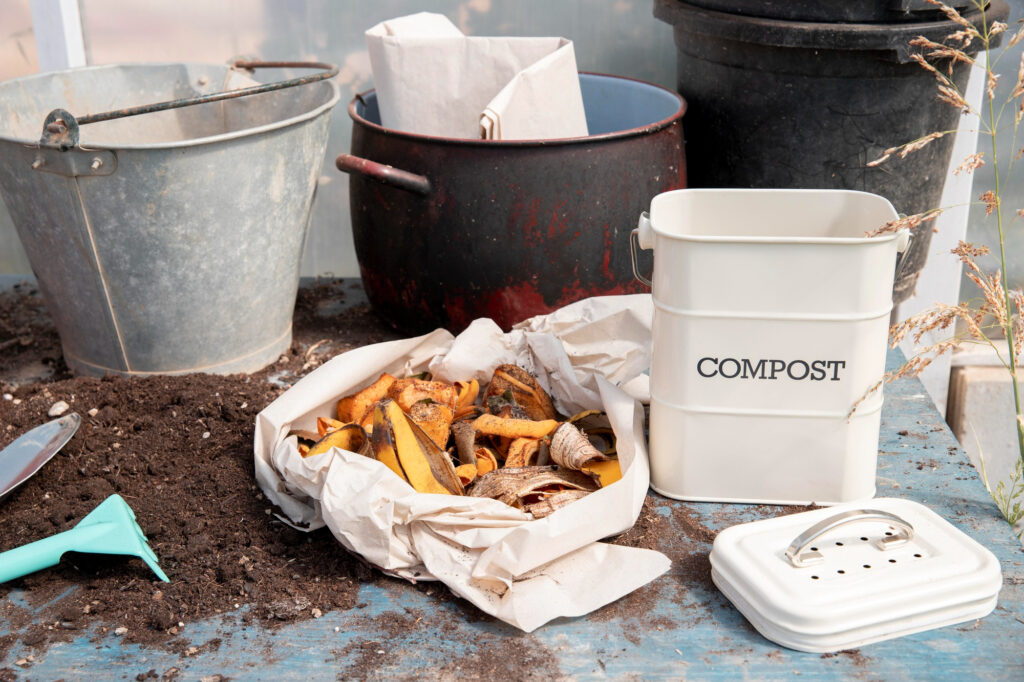
Three Simple Ways to Start
You don’t need fancy equipment. Here are three beginner-friendly methods:
- The Bin Method works well if you have limited space. Begin by obtaining a plastic bin or drum (50-100 litres). Drill holes in the sides and bottom for airflow and drainage. Add a layer of brown materials at the bottom, then alternate layers of green and brown materials. Turn it every few days with a stick or garden fork.
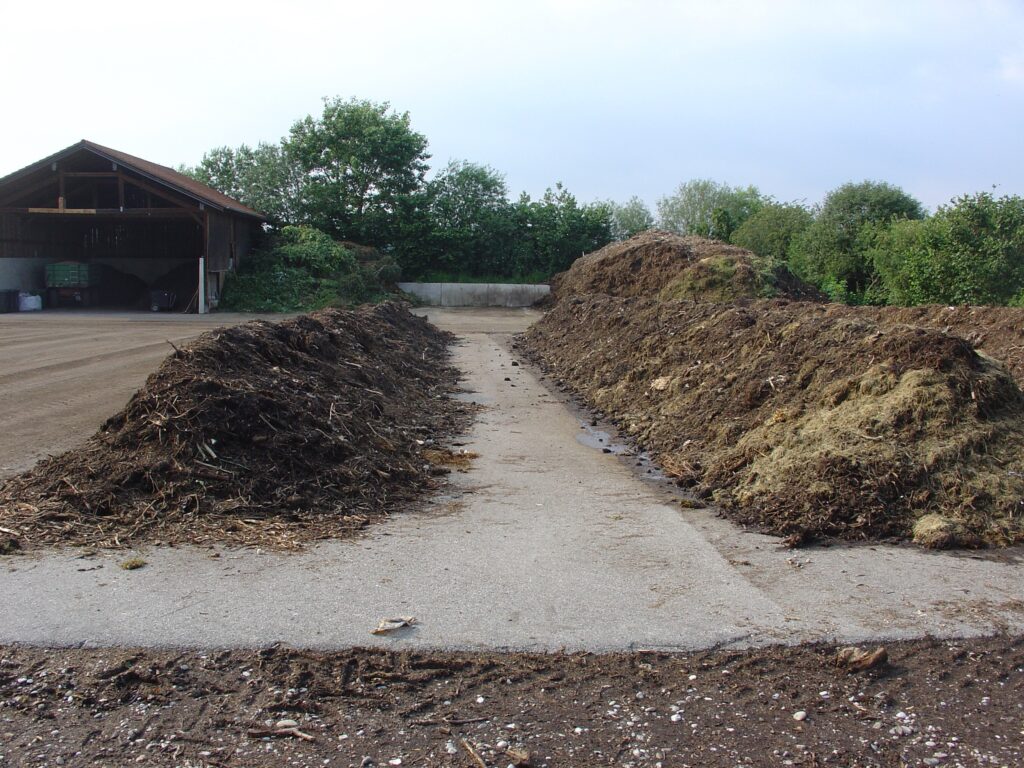
- The Heap Method is perfect if you have outdoor space. Choose a shady spot in your yard, start with a layer of twigs for drainage, pile up your browns and greens as they accumulate, and cover with a tarp or old carpet to retain moisture.
- The Pit Method is traditional and effective. Dig a pit about 2-3 feet deep, add your organic waste directly into it, cover each addition with soil or dried leaves, and when the pit is full, cover completely and let it sit for 2-3 months.
- In coastal areas like Konkan, the heap or pit methods work especially well because the humidity helps speed up decomposition. Just make sure you have good drainage during the monsoon season.
The Four Keys to Perfect Compost
Getting great compost comes down to four simple factors:
- You need the right mix of greens and browns. If your pile smells bad, add more browns. If it’s not heating up or decomposing slowly, add more greens.
- Your pile should feel like a wrung-out sponge, moist but not soggy. In the dry season, sprinkle water occasionally. During monsoons, you need to cover your pile to prevent it from getting waterlogged.
- Microorganisms need oxygen to do their work. Turn or mix your compost every week or two. This also helps distribute moisture and speeds up decomposition.
- Smaller pieces break down faster. Chop large scraps into smaller bits before adding them. Crushing eggshells and tearing paper also helps.
How Long Does It Take?
This is everyone’s first question, and the answer is: it depends. Under ideal conditions with regular turning, you can have usable compost in 6-8 weeks. More realistically, expect 3-4 months for most home composting setups. Slower, neglected piles might take 6-12 months, but they’ll still work. You’ll know your compost is ready when it’s dark brown, crumbly, smells earthy (not rotten), and you can’t identify the original materials anymore.
Common Problems and Quick Fixes
- Bad smell? This usually means too many greens or too much moisture. Add browns like dried leaves or shredded newspaper, and turn the pile to add air.
- Not decomposing? Your pile might be too dry or needs more greens. Add water and some fresh kitchen scraps, coffee grounds, or grass clippings.
- Attracting pests? Never add meat, dairy, or oily foods. Bury fresh additions under browns. If fruit flies are a problem, cover fresh additions with a thick layer of dried leaves.
- Pile is too hot? This can actually be good; it kills weed seeds and pathogens. But if it exceeds 70°C, add more browns and turn it to cool it down.
Using Your Finished Compost
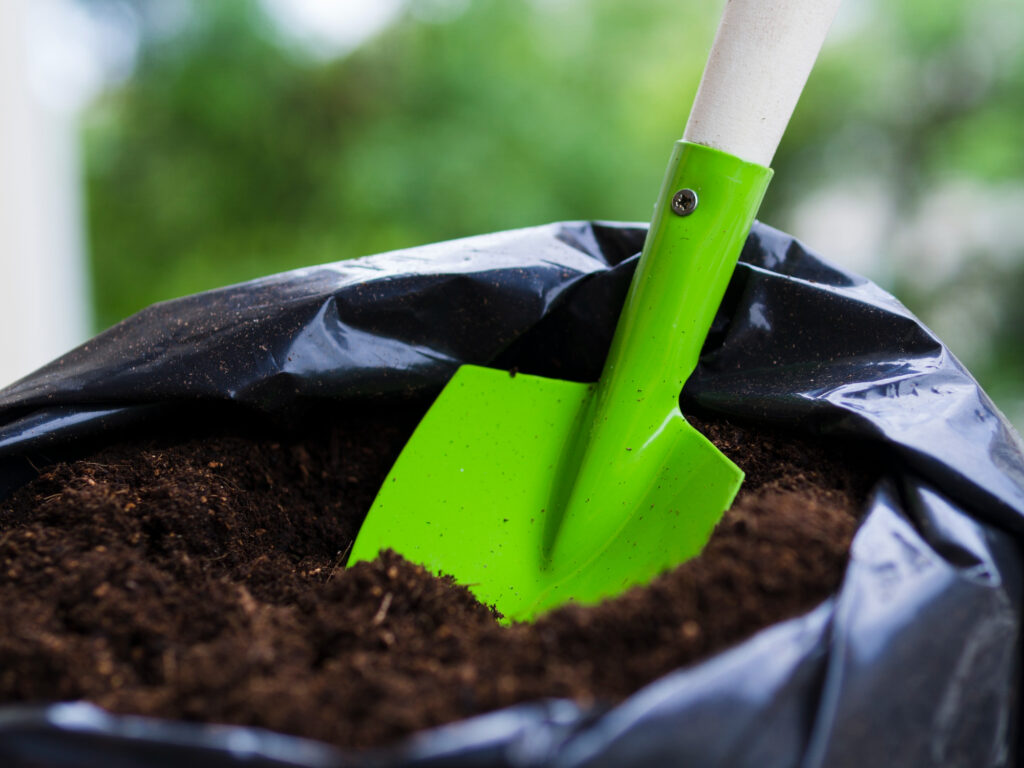
Once your compost is ready, the possibilities are endless. Mix it into your garden beds before planting, use it as mulch around established plants, create potting mix by combining compost with soil and sand, make compost tea by steeping it in water for a nutrient-rich liquid fertiliser, or top-dress your lawn for a green boost. For vegetable gardens, work in 2-3 inches of compost before each growing season. Your plants will reward you with vigorous growth and better yields.
Start Small, Dream Big
- You don’t need to compost everything immediately. Start with just your fruit and vegetable scraps. Once you get the hang of it, add more materials gradually.
- Keep a small container on your kitchen counter for daily scraps. When it’s full, take it to your compost bin. That’s it. Simple.
- Within a few months, you’ll have rich, homemade compost. You’ll also have the satisfaction of knowing you’re feeding your garden, reducing landfill waste, and doing something genuinely good for the planet.
- And here’s the beautiful truth: every banana peel you compost instead of trashing is a small act of environmental care. Multiply that by thousands of days and millions of people, and we’re talking about real change.
Ready to Start?
The best time to start composting was years ago. The second-best time is today. Grab a container, save those vegetable peels from tonight’s dinner, and take your first step toward creating garden gold. Your plants, and the planet, will thank you.
Disclaimer: This guide is based on general home composting principles and our experience in Indian home gardens. Results may vary based on your specific climate, materials, and setup. Always research local regulations regarding composting in your area.