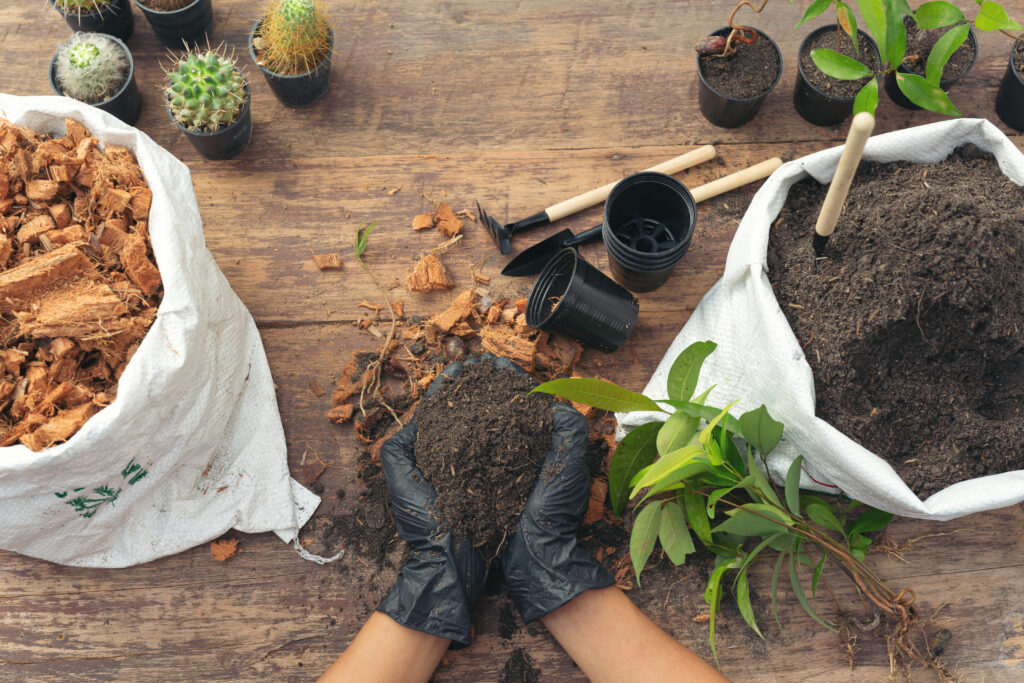
I can still recall my initial effort at creating a balcony garden. It felt extremely enthusiastic. I took a pot, went down, and filled it with dirt from the area by my building. I happily planted a young marigold plant. A week later, following several waterings, that seedling had become a miserable, waterlogged stub. The “soil” in the container had transformed into a single, dense, solid brick. That was my initial significant “aha!” experience in gardening. I discovered that soil found in the earth and soil contained in a pot are entirely distinct. Potted plants are contained within a specific environment. They rely on us for all their needs. The most essential thing we can provide them is a suitable place to establish their roots. The key to a vibrant, flourishing balcony is a light, airy, and well-balanced potting mix for container gardening. This is the real basis for achieving success in container gardening, and I will demonstrate how to do it correctly.
Why You Need a Good Potting Mix for Container Gardens
So, what prevents you from using Earth from the ground? I discovered it through difficult experiences.
- Problem 1: It’s a Block. The soil in our area, particularly in and around Mumbai, frequently contains a significant amount of clay. In a pot, it compresses snugly with each watering until roots are deprived of air. This process is known as compaction, and it smothers your plants.
- Problem 2: Drainage Catastrophe. That same compacted soil either retains excessive water (causing root rot) or it dries into a solid mass that water runs off, never reaching the roots.
- Problem 3: Mysterious Hitchhikers. Garden soil contains numerous weed seeds, various fungi, and insects. You’re essentially welcoming issues into your pots.
An effective potting mix is specifically created to address all these issues. It’s lightweight, retains moisture like a sponge while allowing overflow to escape, and it’s sanitised. It’s the ideal harmony of three essential elements.
The 3 Building Blocks of a Perfect Potting Mix


When you’re making or buying a good potting mix, you’re mixing three types of ingredients. Think of it like a recipe.
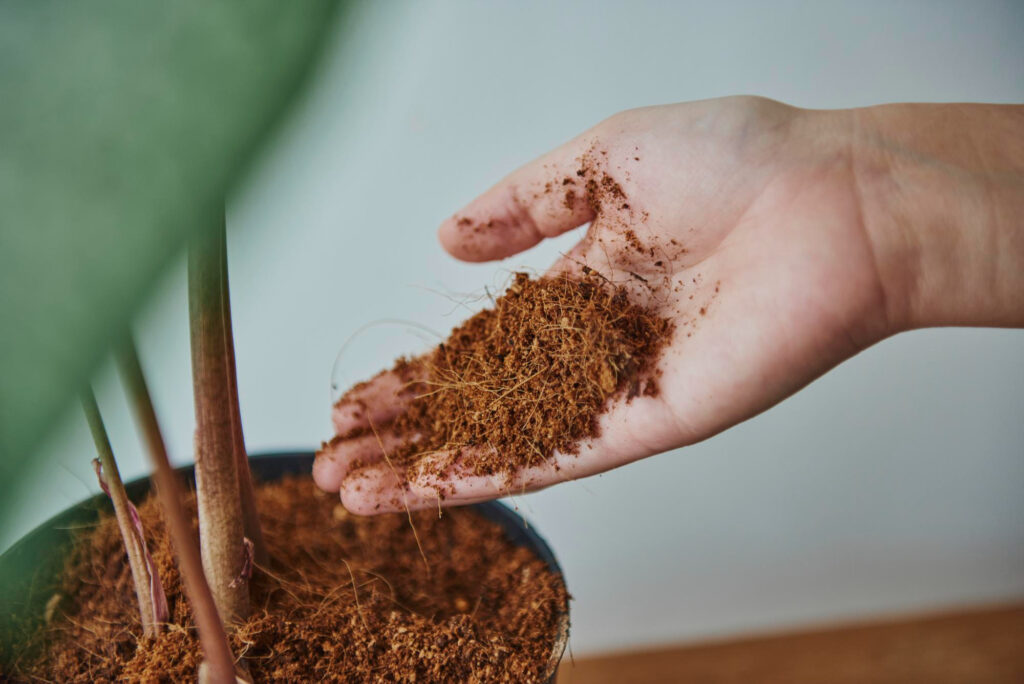
The Foundation: Cocopeat
- What it is: This natural fibre is produced from coconut husks. To us, it represents a great, sustainable resource from the local area.
- Its Function: It is soft and holds nutrients and moisture, enabling the plant’s roots to utilise them as required. This stops soil from drying too fast.
The Lungs (Ventilation): Sand or Perlite
- What it is: Coarse river sand (as opposed to fine beach sand) or perlite (the small white, lightweight “thermocol” balls).
- Its Function: This is essential for achieving fluffy soil. These substances create small air bubbles within the mixture. This makes it easier for extra water to drain away and lets roots breathe.
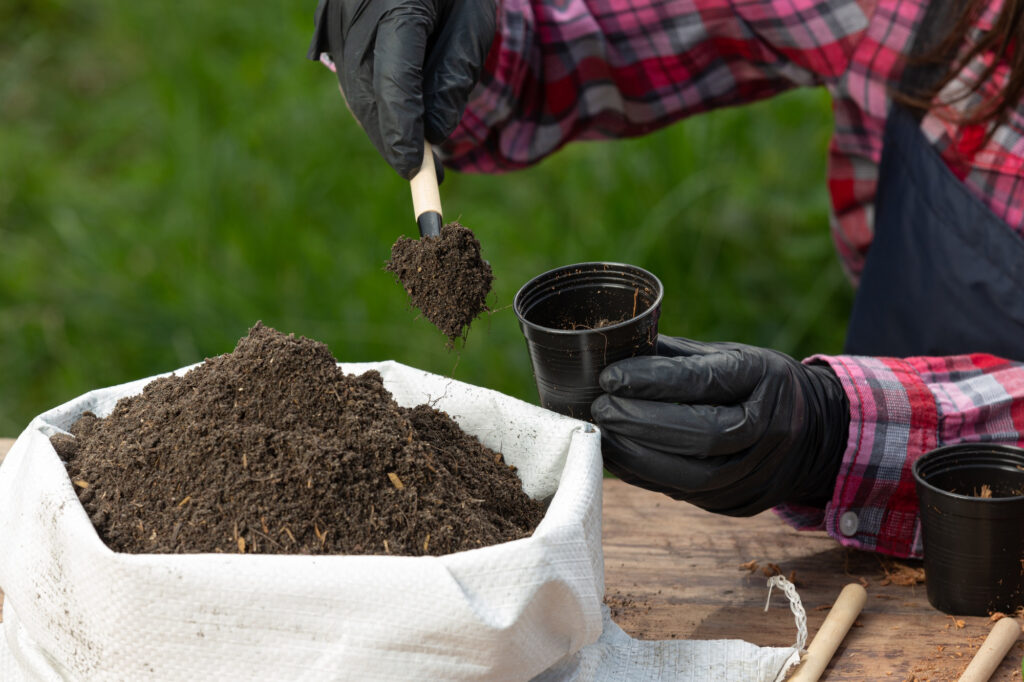
The Buffet’s Food: Compost or Vermicompost
- What it is: This is what you call your “black gold.” My particular favourite is vermicompost (worm castings), but any fully finished, black, rich compost will do.
- Its Function: This is the food. It gives your plants the vital, gradually released nutrients they require to develop into robust plants, bloom, and fend against pests.
My Go-To DIY Potting Mix Recipes (Cheaper & Better!)
I stopped purchasing pricey, pre-made packets of potting mix years ago. Making your own is far more cost-effective and beneficial. I use a large plastic container or bucket to combine my components. Here are the basic recipes I use for nearly everything in my container garden. (All “parts” are measured by volume, not weight, so one cup, one bucket, etc.)
All-purpose Mix (good for flowers, herbs, and most vegetables).
- Mix with 1 part cocopeat (pre-moistened).
- Vermicompost (or excellent compost).
- Perlite (sometimes called coarse sand)
- Optional but recommended: Neem Khali/Cake powder. This is a natural fertiliser that aids in insect control in the soil.
“Thirsty Plants” Mix (for moisture-loving plants like ferns, peace lilies, and money plants)
- 2 parts cocopeat
- 1 part vermicompost
- 1 part perlite.
The “Dry-Lover” Mix (for succulents, adeniums, bougainvillaea, and cacti).
- 1 part cocopeat
- 1 part vermicompost.
- 2 parts gritty sand and/or perlite.
Troubleshooting & Quick Tips
- “Help! “My pot is still not draining.”
Before you blame the potting mix, check the drainage hole on the bottom of your pot! It must be open. I always cover the hole with a single bent piece of a broken terracotta pot (a diya) to keep the mix from falling out, but I don’t use a dense coating of pebbles. That is a myth! It actually worsens drainage. A nice potting mix is all you’ll need.
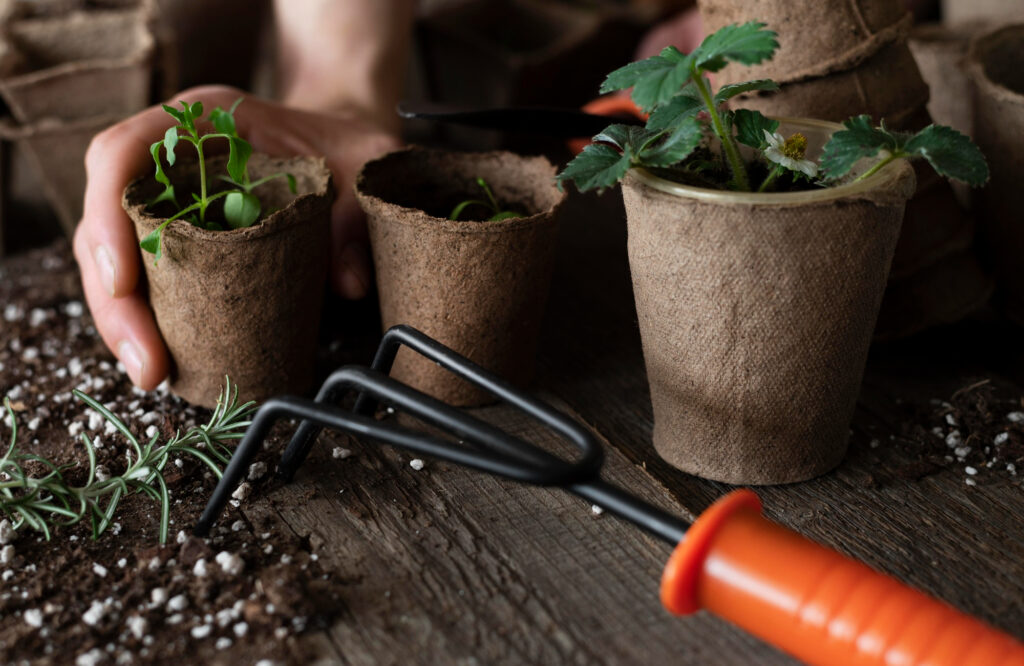
- “How often do I need to change my potting mix?”
The nutrients in your mix are used up! Every month, apply fresh compost to plants that require a lot of nutrients, such as vegetables. Most other plants benefit from a complete repot with fresh potting mix every 1-2 years.
- “What about those tiny black flies (fungus gnats)?”
This usually implies that your potting mix is very moist. Allow the top inch or two of soil to completely dry in between waterings.
Conclusion: The Foundation of Your Garden
It may seem easy, but choosing the right potting mix is the key element in cultivating a successful container garden. It serves as the basis for strong roots, beautiful blooms, and plants that resist pests. You don’t have to be an expert in soil science. Keep it airy, soft, and packed with delicious dishes. Your plants will be thankful for it.
What’s the main challenge you face with your soil in pots?
- A) Knowing what ingredients to buy.
- B) My soil gets hard as a rock over time.
- C) I’m not sure when or how to repot.
- D) I’m excited to try my first DIY potting mix.
Drop your questions or your own favorite potting mix tips in the comments below.


Pingback: No-Nonsense Guide to a High-Yield Organic Kitchen Garden | Organic Kokan
Pingback: Mangrove Coastal Protection: Guarding konkan Against Greed | Organic Kokan